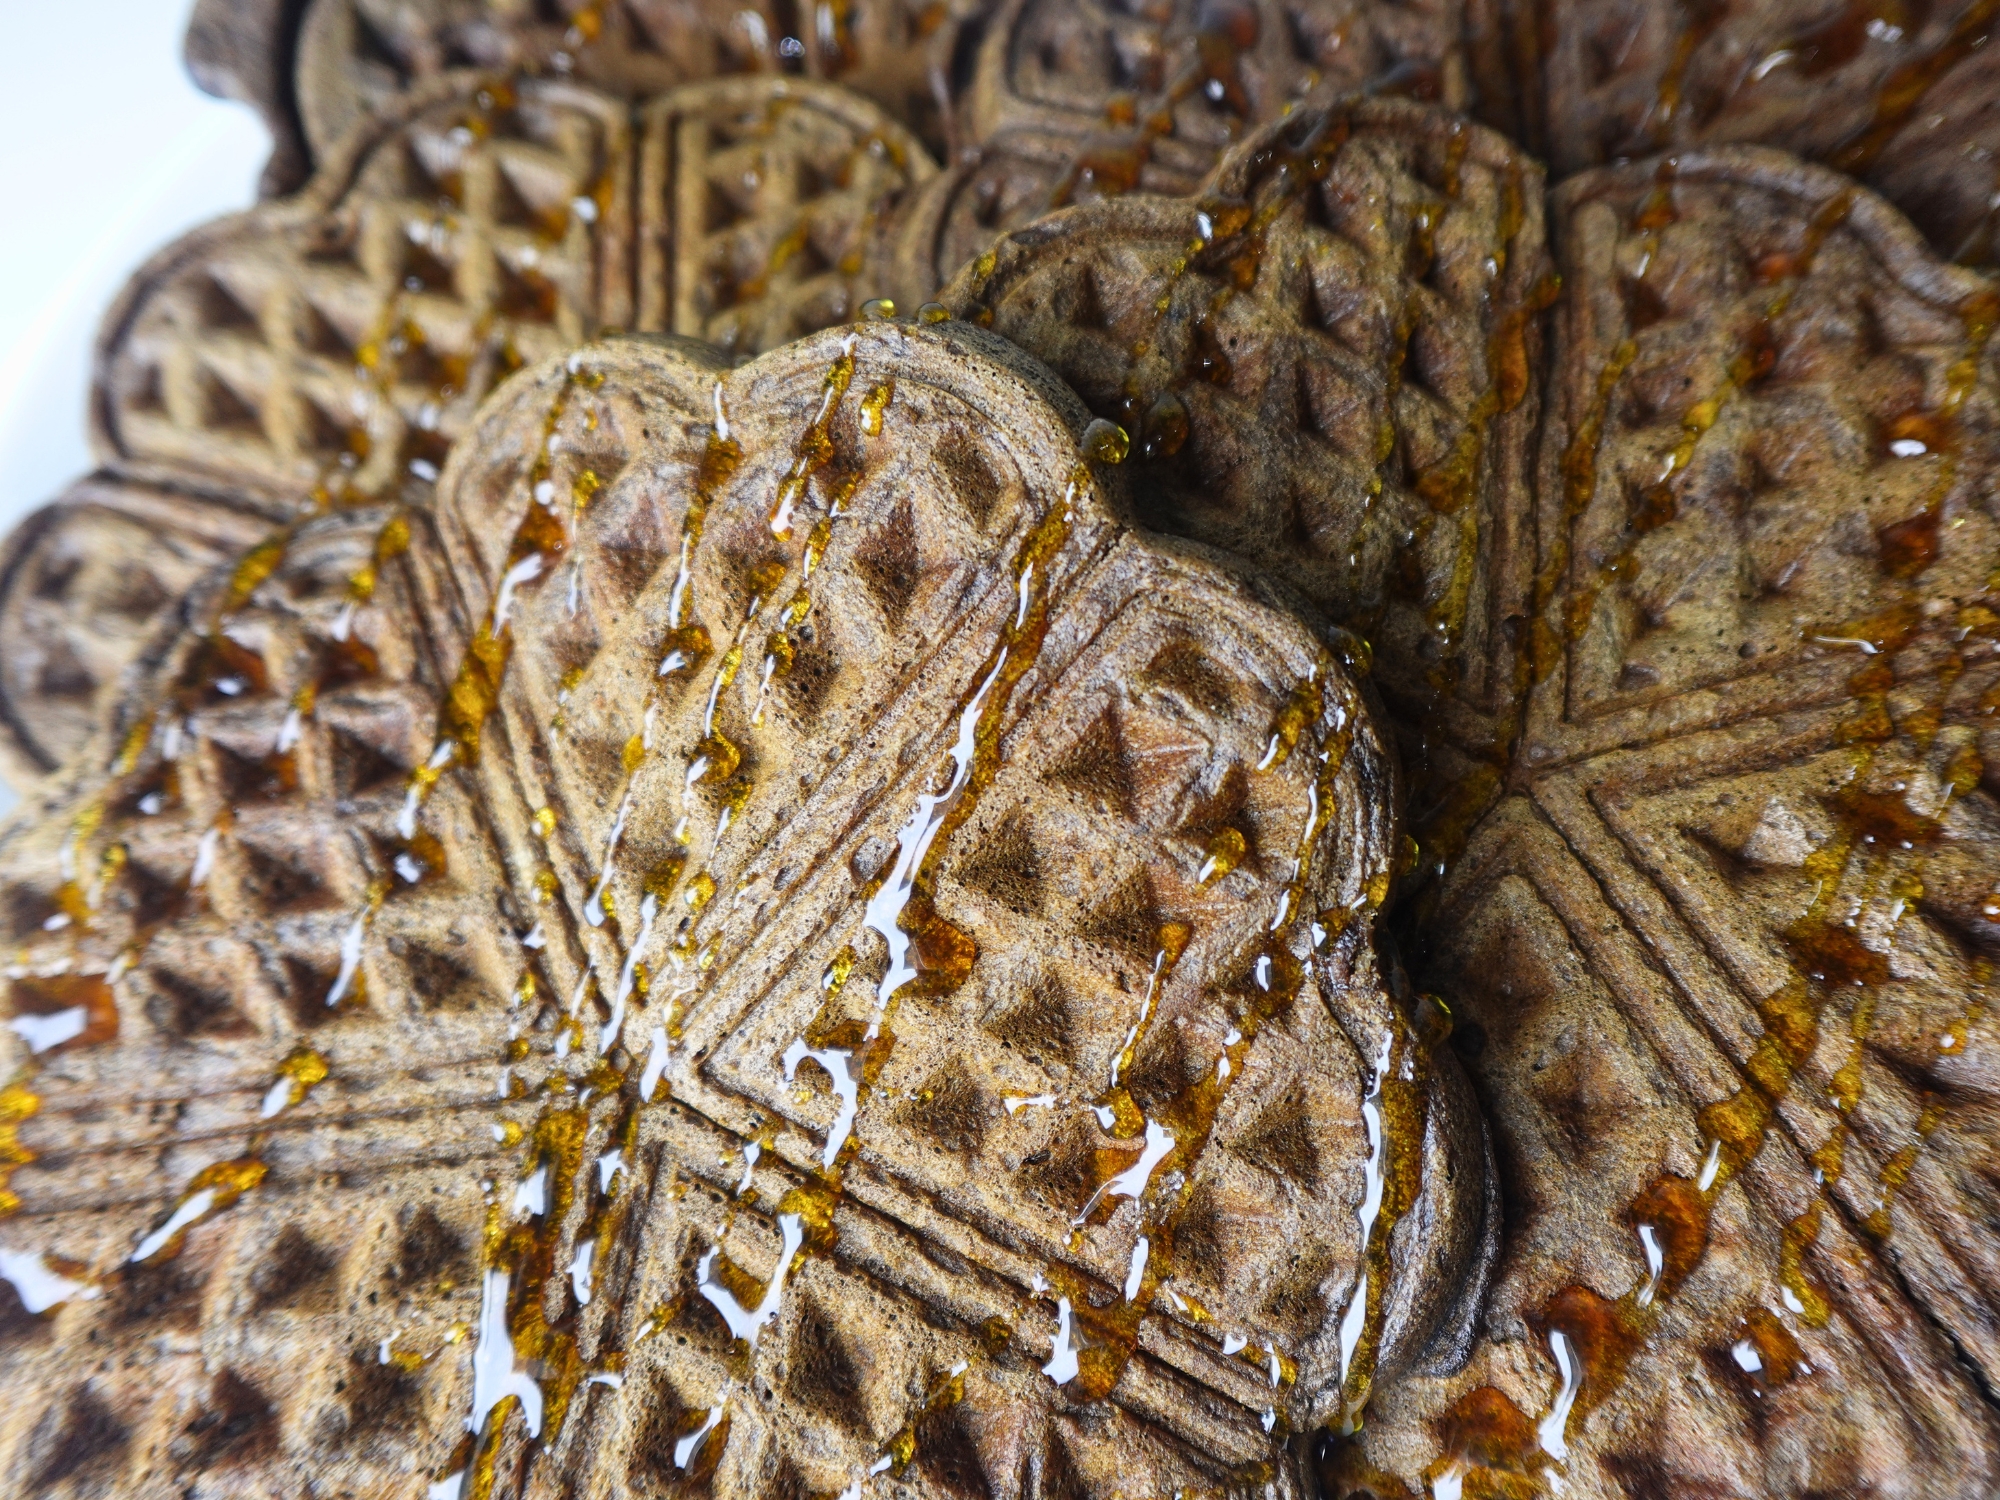
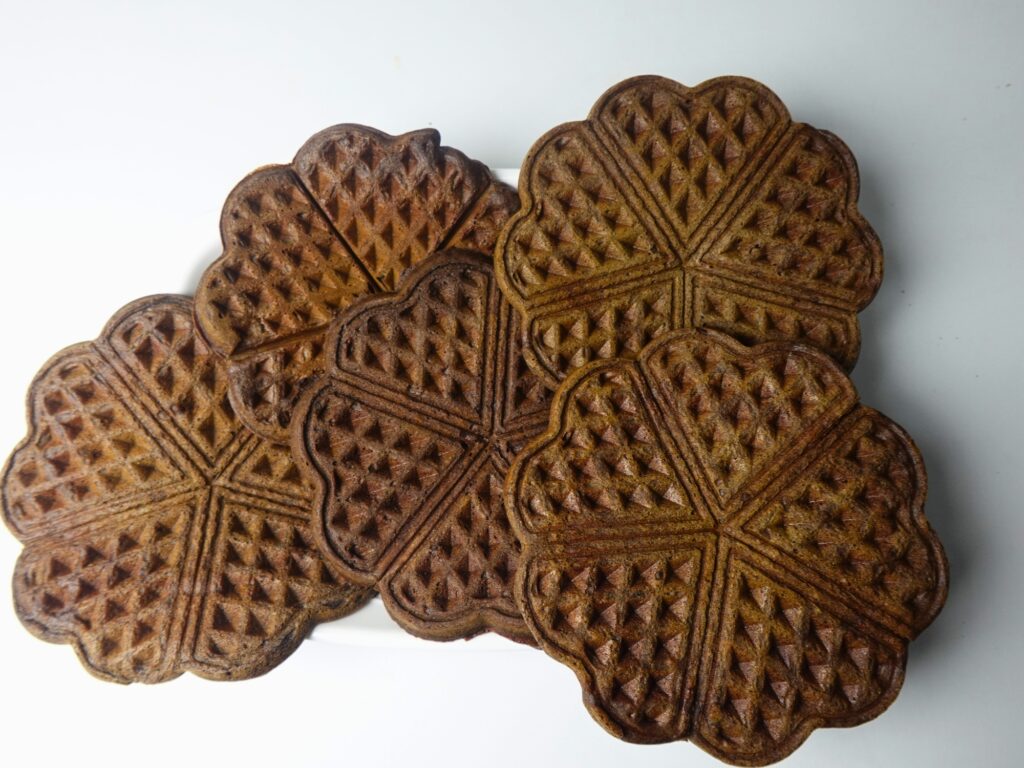
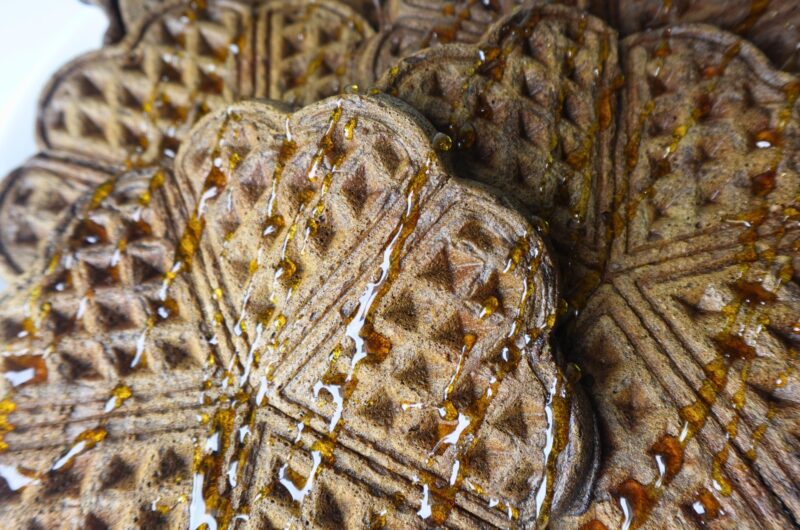
Who says chocolate is only for dessert? These high protein Chocolate Waffles are the perfect excuse to enjoy a rich, chocolatey breakfast while adding extra protein to your morning. They’re crisp around the edges, light and fluffy in the centre, and have a deep cocoa flavor that’s even better with a drizzle of homemade chocolate sauce, honey or maple syrup.
Unlike many protein waffle recipes that can turn out dry, dense, or chalky, this recipe starts with a classic chocolate waffle base and makes just a few thoughtful changes to increase the protein while keeping the texture everyone loves. The result is a waffle that’s indulgent enough for weekend brunch but satisfying enough to keep you full all morning.
Whether you’re making breakfast for the family, meal-prepping for busy weekdays, or simply treating yourself to a stack of chocolate waffles, this recipe is sure to become a favorite.
Why You’ll Love These Chocolate Waffles
- Rich chocolate flavor in every bite
- Crispy outside with a soft, fluffy center
- Extra protein without sacrificing texture
- Easy to make with everyday ingredients
- Perfect for breakfast, brunch, or even dessert
- Freezer-friendly and great for meal prep
- Delicious with fresh fruit, chocolate sauce, or whipped cream
- Kid-approved and family-friendly
What Makes These Waffles High in Protein?
Traditional chocolate waffles rely mainly on flour for structure. This recipe replaces a portion of the flour with chocolate or vanilla protein powder, boosting the protein content while maintaining the classic waffle texture. However, you can totally leave this out. I’ll give you a modified recipe if you decide to leave out the whey.
Combined with eggs and milk, each serving delivers significantly more protein than regular chocolate waffles, making them a more satisfying breakfast option.
Ingredients
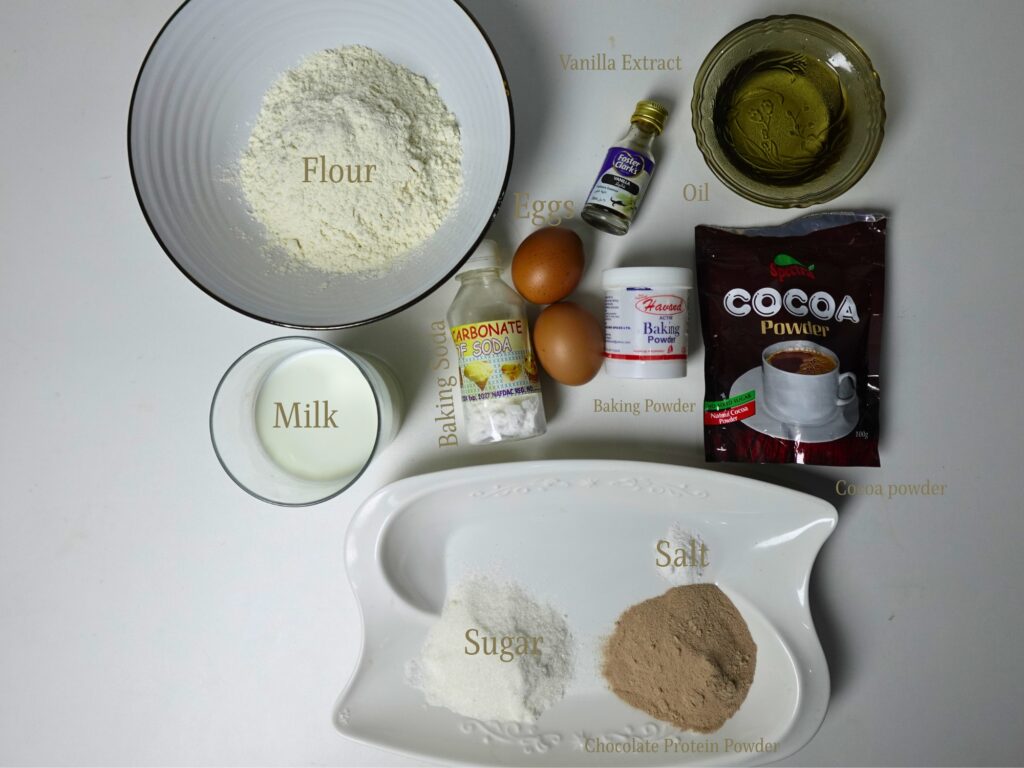
Dry Ingredients
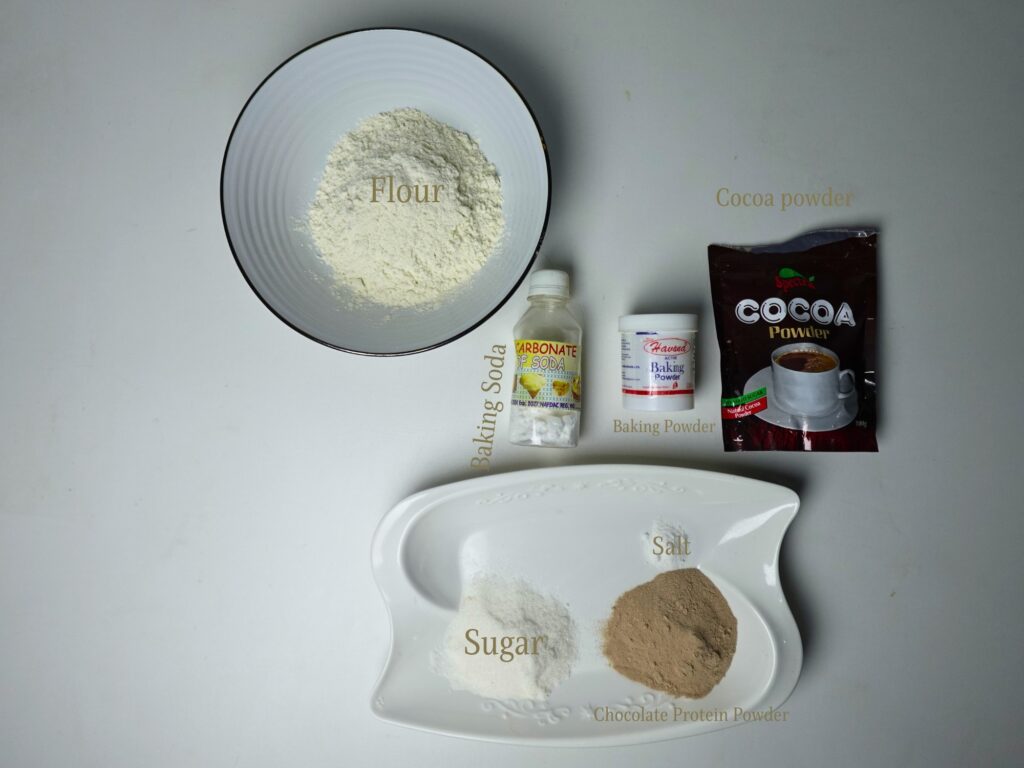
- 1½ cups (180g) all-purpose flour
- ¼ cup (25g) chocolate protein powder (swap for flour if you decide to leave it out. Instead of 1.5 cups of flour, you will use 1¾ cups (210g) all-purpose flour)
- ½ cup (50g) unsweetened cocoa powder
- 1.5 cups (100g) granulated sugar
- 2 teaspoons baking powder
- ½ teaspoon baking soda
- ½ teaspoon salt
Wet Ingredients
- 1 cup of milk
- ½ cup (113g) unsalted butter, melted and slightly cooled or mildly flavored oil like canola or sunflower oil… I like to use oils for my waffles and pancakes but butter works just as great…
- 2 large eggs
- 2 teaspoons vanilla extract
Ingredient Notes
Protein Powder
Chocolate protein powder works beautifully because it complements the cocoa without overpowering it AND your waffles will have an even richer chocolate flavor. Win, win, win… But if you don’t have chocolate protein powder, feel free to use vanilla protein powder.
Whey protein generally produces the fluffiest waffles, while plant-based protein powder may absorb a little more liquid.
Cocoa Powder
Unsweetened cocoa powder provides the signature chocolate flavor. Dutch-process cocoa creates darker waffles with a smoother, richer taste, while natural cocoa powder offers a slightly more intense chocolate flavor.
Butter
Butter adds richness while helping the waffles become beautifully crisp around the edges.
Milk
Whole milk creates the richest texture, but 2% or even skim milk can be substituted if preferred.
Equipment You’ll Need
- Belgian waffle maker or regular waffle iron
- Large mixing bowl
- Medium mixing bowl
- Whisk
- Rubber spatula
- Measuring cups and spoons
- Wire cooling rack
How to Make High Protein Chocolate Waffles
Step 1: Preheat the Waffle Maker
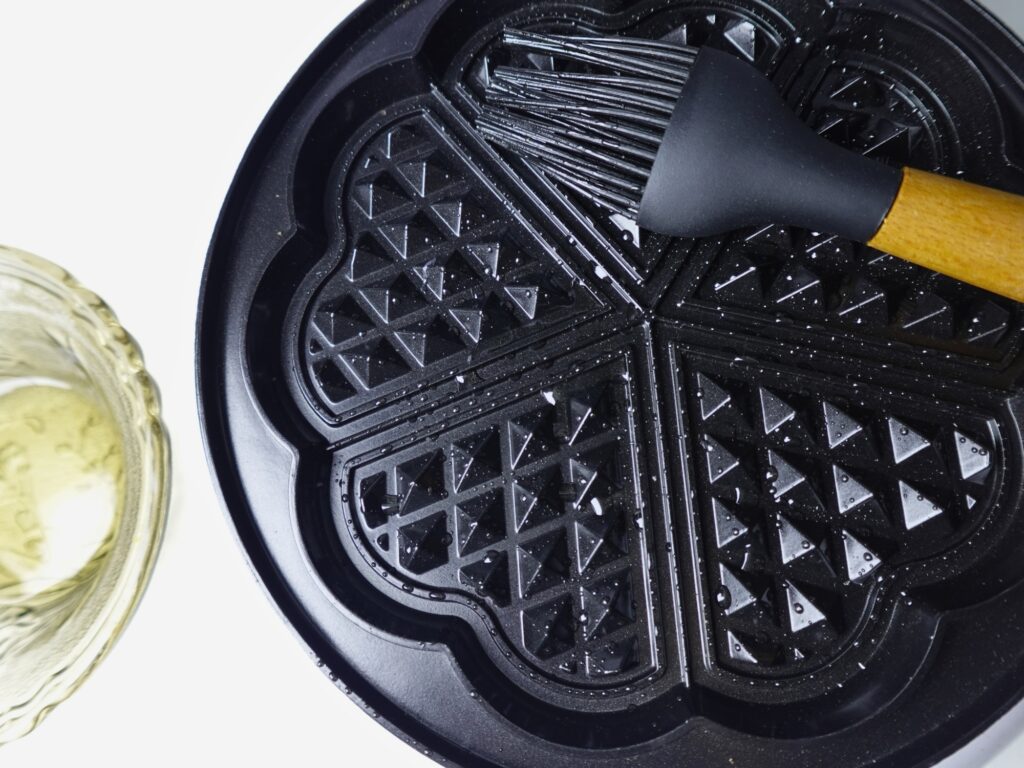
Preheat your waffle maker according to the manufacturer’s instructions. Lightly grease the plates with cooking spray or a little melted butter.
A properly heated waffle iron is the key to crispy waffles.
Step 2: Mix the Dry Ingredients
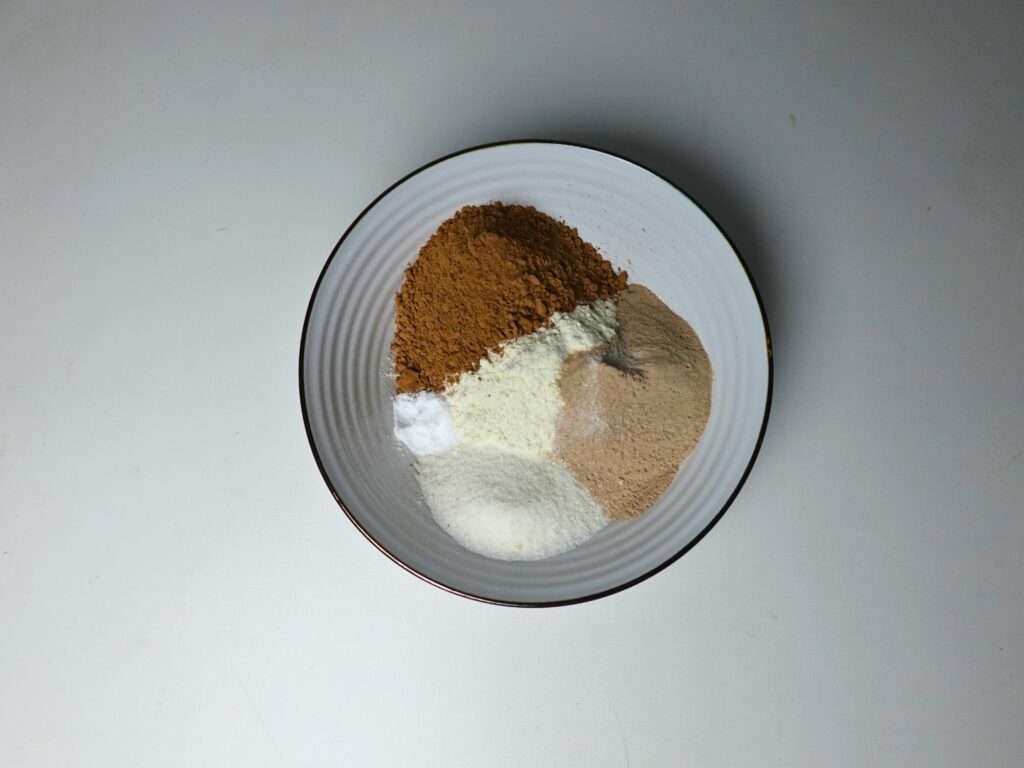
In a large mixing bowl, whisk together:
- Flour
- Protein powder
- Cocoa powder
- Sugar
- Baking powder
- Baking soda
- Salt
Whisk until everything is evenly combined.
Step 3: Mix the Wet Ingredients
In another bowl, whisk together:
- Milk
- Melted butter
- Eggs
- Vanilla extract
Continue whisking until the eggs are fully incorporated and the mixture is smooth.

Step 4: Make the Batter
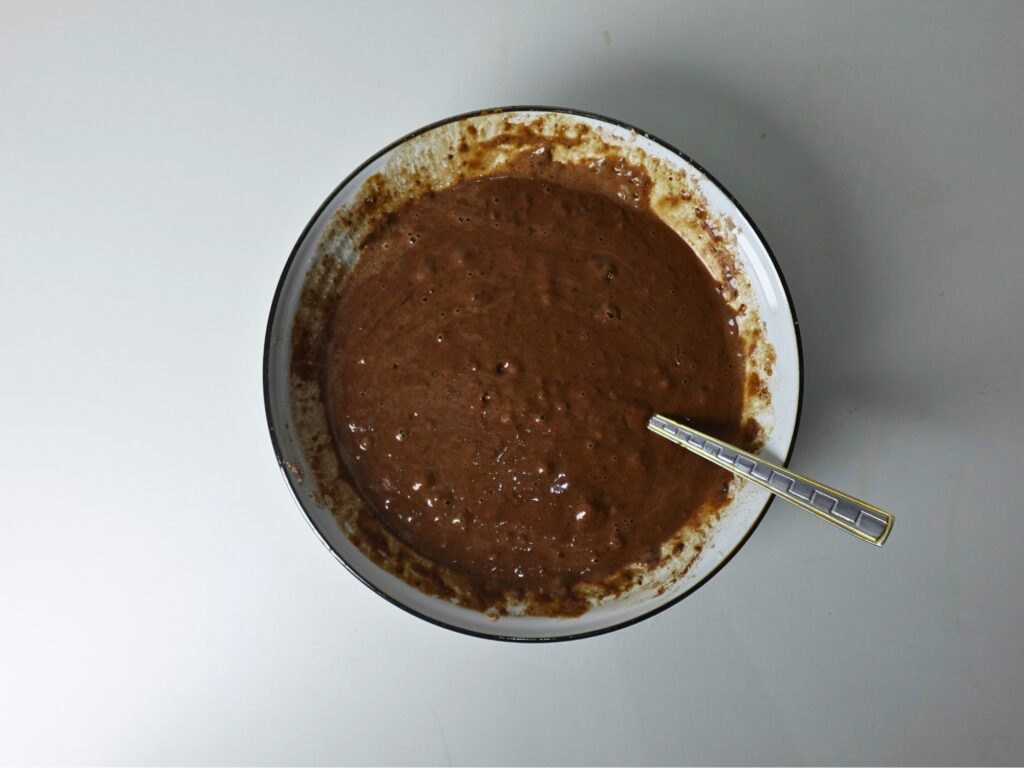
Pour the wet ingredients into the bowl of dry ingredients. Using a rubber spatula, gently fold everything together until no dry streaks remain. If you’re adding chocolate chips, fold them in now. The batter should be thick but pourable. Avoid overmixing, as this can make the waffles less tender.
Step 5: Let the Batter Rest
Allow the batter to rest for 5 minutes.
This simple step gives the flour time to hydrate and allows the baking powder to begin working, resulting in lighter, fluffier waffles.
Step 6: Cook the Waffles
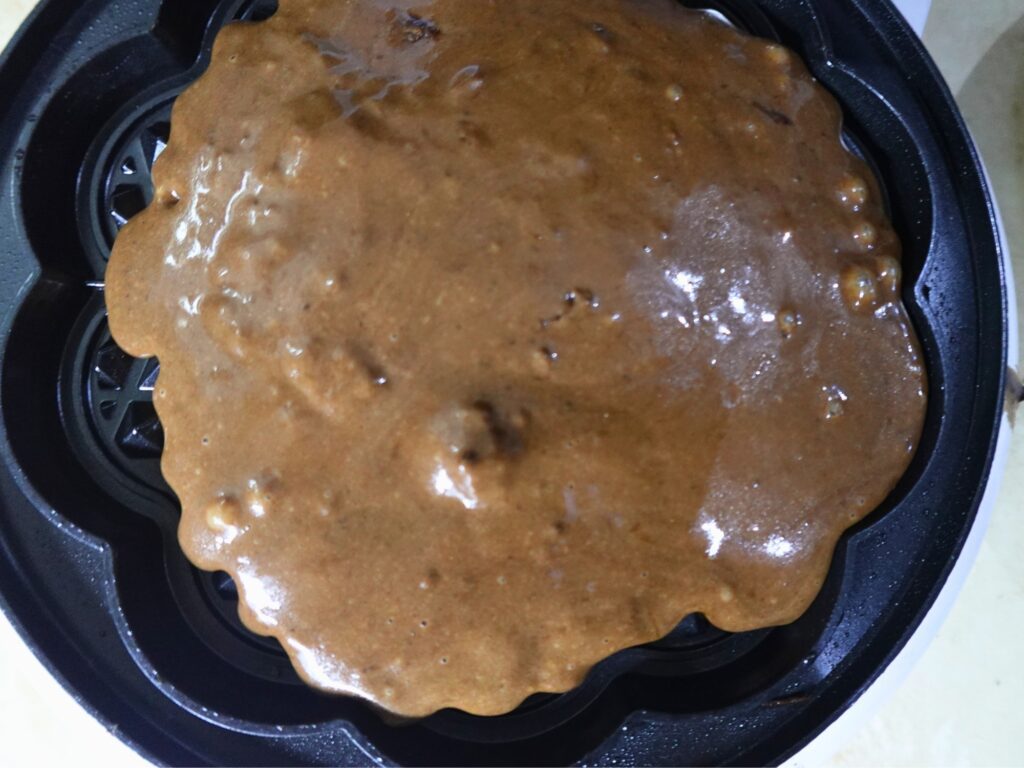
Pour the recommended amount of batter onto your preheated waffle iron.
Close the lid and cook for 4 to 6 minutes, or until the waffles are crisp and steam has mostly stopped escaping.
Avoid opening the waffle maker too early.
Step 7: Keep Them Crispy
Transfer the cooked waffles to a wire rack instead of stacking them. This prevents steam from softening the crispy exterior.
Repeat with the remaining batter.
Tips for Perfect Chocolate Waffles
Measure the Flour Correctly
Too much flour can make the waffles dry. Spoon the flour into the measuring cup and level it off instead of scooping directly from the bag. Or better still, use a measuring scale.
Don’t Overmix
A few small lumps are perfectly fine. Overmixing develops gluten, resulting in tougher waffles.
Rest the Batter
Five minutes of resting makes a noticeable difference in texture.
Use a Hot Waffle Iron
The hotter the waffle maker, the crispier your waffles will be.
Don’t Stack Fresh Waffles
Place them on a cooling rack while finishing the remaining batches. The steam can cause them to get soggy, which we don’t like ofc.
Delicious Topping Ideas
These waffles are delicious on their own, but toppings make them even more irresistible.
Try serving them with:
- Homemade chocolate sauce
- Fresh strawberries
- Fresh raspberries
- Blueberries
- Banana slices
- Maple syrup or honey
- Whipped cream
- Chocolate shavings
- Peanut butter
- Almond butter
- Chopped pecans
- Toasted walnuts
- Powdered sugar
- Vanilla ice cream for dessert
How to Store Leftovers
Allow the waffles to cool completely before storing. Place them in an airtight container in the refrigerator for up to 4 days.
Can You Freeze Chocolate Waffles?
Absolutely! Arrange the cooled waffles in a single layer on a baking sheet and freeze until firm. Transfer them to a freezer-safe bag or container, placing parchment paper between each waffle to prevent sticking. Freeze for up to 3 months.
How to Reheat
Toaster
Toast until hot and crispy.
Oven
Bake at 350°F (175°C) for 8–10 minutes.
Air Fryer
Heat at 350°F for 3–4 minutes. (this is my preferred method)
Avoid microwaving if possible, as it softens the waffles.
Common Mistakes to Avoid
- Overmixing the batter
- Opening the waffle maker too early
- Forgetting to grease the waffle iron
- Using a waffle iron that isn’t fully heated
- Stacking hot waffles
- Skipping the batter resting time
Frequently Asked Questions
Can I use vanilla instead of chocolate protein powder?
Yes. You absolutely can!
Can I make these waffles ahead of time?
Yes! These waffles are perfect for meal prep. Refrigerate or freeze them and reheat in a toaster, oven, or air fryer when ready to serve.
Can I make these without the protein powder?
Absolutely. Simply replace the protein powder with the recommended amount of all-purpose flour. The waffles will still be delicious but won’t contain the extra protein.
Why are my waffles soft instead of crispy?
Soft waffles are often caused by an underheated waffle maker or stacking the waffles immediately after cooking. Place cooked waffles on a wire rack to help them stay crisp.
Can I add chocolate chips?
Yes! Chocolate chips add delicious pockets of melted chocolate throughout the waffles. Fold them into the batter just before cooking.
What’s the best protein powder for waffles?
A vanilla or chocolate flavored whey protein powder typically produces the lightest texture and blends well with the cocoa flavor. Plant-based protein powders can also work but may require a splash of extra milk if the batter seems too thick.
Chocolate Waffles Recipe
Course: All RecipesCuisine: American4
servings10
minutes12
minutes420
kcal49g
16g
19g
Ingredients
1½ cups all-purpose flour
¼ cup protein powder
½ cup unsweetened cocoa powder
½ cup granulated sugar
2 teaspoons baking powder
½ teaspoon baking soda
½ cup oil or unsalted butter, melted
1 cup milk
½ teaspoon salt
2 large eggs
2 teaspoons vanilla extract
Directions
- Preheat and lightly grease your waffle iron.
- Whisk together the flour, protein powder, cocoa powder, sugar, baking powder, baking soda, and salt.
- In a separate bowl, whisk together the milk, melted butter, eggs, and vanilla extract.
- Pour the wet ingredients into the dry ingredients and stir until just combined. Fold in the chocolate chips if using.
- Let the batter rest for 5 minutes.
- Pour the batter into the hot waffle maker and cook for 4–6 minutes, or until crisp and cooked through.
- Transfer the waffles to a wire rack and repeat with the remaining batter.
- Serve warm with chocolate sauce, maple syrup, fresh berries, whipped cream or whatever you please.
Notes
- Nutrition values are estimates and will vary depending on the brand of protein powder used.
Expert Tips for the Best Chocolate Waffles
The secret to bakery-style waffles isn’t just the ingredients—it’s the technique. Always preheat your waffle iron completely before adding the batter, and don’t rush the cooking process. Wait until the steam has mostly stopped before opening the lid, as this usually indicates the waffles are fully cooked and crisp.
For an even richer chocolate flavor, use high-quality Dutch-process cocoa powder and top the waffles with homemade chocolate sauce, fresh berries, and a light dusting of powdered sugar. If you’re making these for a special brunch, a dollop of whipped cream and a few chocolate curls make them look just as impressive as they taste.










Leave a Reply